I was invited to participate in the Around the World Blog Hop by two amazing fiber, art quilt and digital artists, The Pixeladies, also known individually as Deb Cashatt and Kris Sazaki. Years ago, I was asked to do the quilting on one of their art quilt projects, and through this collaboration, we became friends. Recently, I visited their studio and got to see all their stunning works in progress. If you are unfamiliar with their incredible work, and art quilts created with fabric text, click now to visit their gallery page.
The format for the Around the World Blog Hop is a series of questions that I answer, so here we go:
What are you working on right now? I tend to work on multiple projects at the same time. On any given day, you will find me machine quilting in my studio, then working on my Tablet PC laptop drawing and designing, and finally, working on a freeform beading or crochet project. So, in that spirit, here is what I am working on currently:

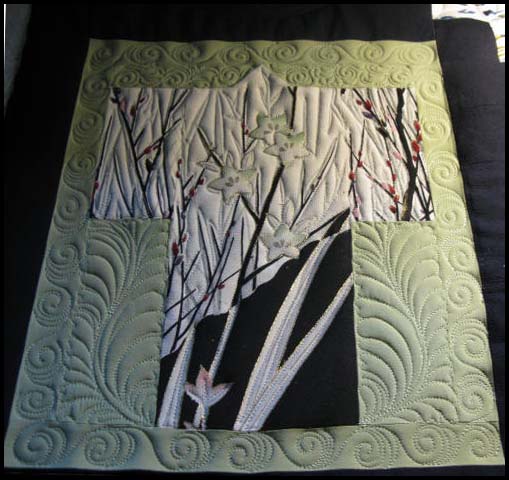
Quilting by Carla Barrett
Machine Quilting- I recently borrowed back the above quilt (previously quilted a few months ago, titled Bold Beauty), to share with students in Australia. The picture above shows you the back of the quilt. This quilt has won many awards in Montana for the owner, Teddie Egeline, including Best of Show and Judges Choice at the Montana State Fair. Anyway, while in AU, I noticed a couple of places that need fixing, specifically, color repair of some white marking pen oops previously discussed in a post here.
 I realized that to be more archival, I should have heat set the repair. So now I will go back over the lines with several shades of Inktense pigment pencils and once dry, heat set them. After this repair, I plan to work on 2 quilts- one by applique artist Jill Rixman, and also one by my friend, Doug Hodder.
 Freeform Beading and Freeform Crochet- Currently, I have two different projects in progress, though both are freeform.
The first one is a freeform beaded purse, so I am working on the freeform peyote embellishment. I have just started to bead a 18mm Swarovski crystal, which will be a focal point element of this project. My color palette is magenta, purple and blue.
My current freeform crochet project is a bit different from my usual freeform crochet work. I like the combination of my random freeform combined with some more traditional freeform scrumbles, so I decided to take a Craftsy Freeform Crochet class with the talented Myra Wood to learn her process. Below is a picture of my class homework so far. These are “scrumbles” in progress as I learn her technique.

Scrumbles in Progress
How does your work differ from others of its genre? With regards to my machine quilting work, I plan out my quilting lines using a Tablet PC laptop in Photoshop Elements. This allows me ease of editing and planning, communicating effectively with collaborators, as well as provide me with a road map to follow during the quilting process. I also will design a special motif, border or fill to use on each quilt using a digitizing software called Art & Stitch. I also will use my tablet to draw a quilting cartoon from time to time, too. See more what you can do with a Tablet in this post here.
 How does your creative process work? As mentioned earlier, I use my Tablet PC to sketch out machine quilting designs (like the example above). I also use my Tablet PC to create custom quilting designs that I can then stitch out on a quilt. My process is as follows:

Copyright 2014 Carla Barrett
First, I draw with my stylist on my Tablet PC monitor in Photoshop Elements. Once I like the design, I will import my design into Adobe Illustrator and Art&Stitch digitizing software, converting the artwork from a raster drawing to vector artwork.
On the left is a custom design drawn for Teddie Egeline’s quilt, Bold Beauty. This is a screenshot taken of the finished vector art.
In Art&Stitch, I finish editing the art, adding stitches and saving it in a computerized quilting format that my system can read- which for my Intelliquilter is “.iqp.” The design is next imported to my machine and then I further manipulate the design to fit my border. Here is a screenshot from my Intelliquilter tablet showing you how I used this design to create an interesting custom border:

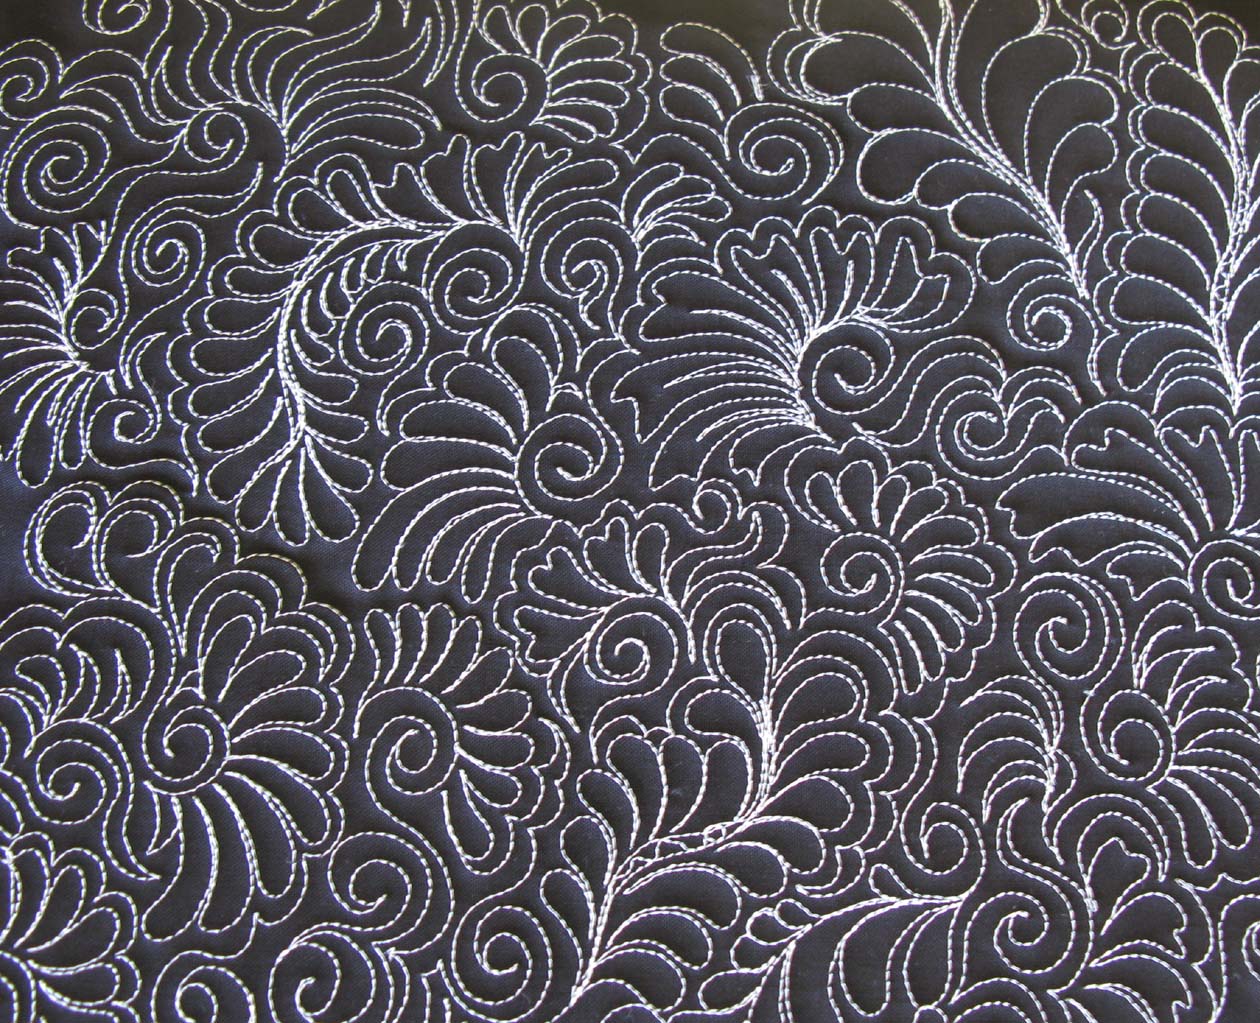
I love to leave spaces for freemotion quilting because I love the look of freehand work. The curlycues in the image above will be filled with my freehand feathers. Once quilted out and the freehand work added, the finished design and border looks like this:

I also used my Scroll-Heart Design in other areas on the quilt, too:

If you have any questions about my process, I would be happy to answer them. Just leave your question in a comment, below. If you would like to know more about buying a Tablet, I do have a 4 part series on purchasing a Tablet for artwork here. If you would like to know more about working and creating with Art & Stitch software, please see this post.
Before I close, I would like to nominate a very talented machine quilting artist for this Around the World Blog Hop:
Judi Madsen, quilting artist, author, teacher and designer. During my teaching trip to AU earlier this month, I met Judi a couple of times as my class was ending and hers was due to begin. Her freehand machine quilting work is young, vibrant, and has a modern vibe. Be sure to visit Green Fairy Quilts blog to see Judi’s stunning work.
Take care, Carla