Life and Other Happenings in my studio…

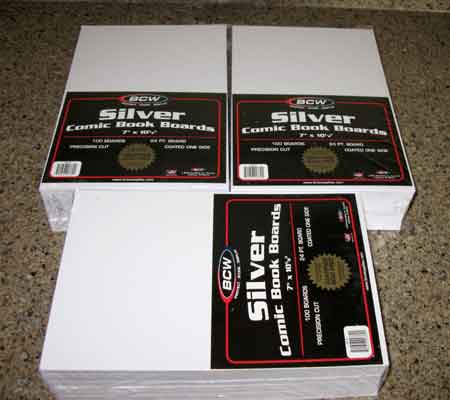
Hello! Thought I would show you a few random things today. I am so happy that this package arrived… now I can sort my fabric and place them into my studio cupboards!

boards.jpg

In case you are having a hard time envisioning this… I will shoot some pictures tomorrow to show you.

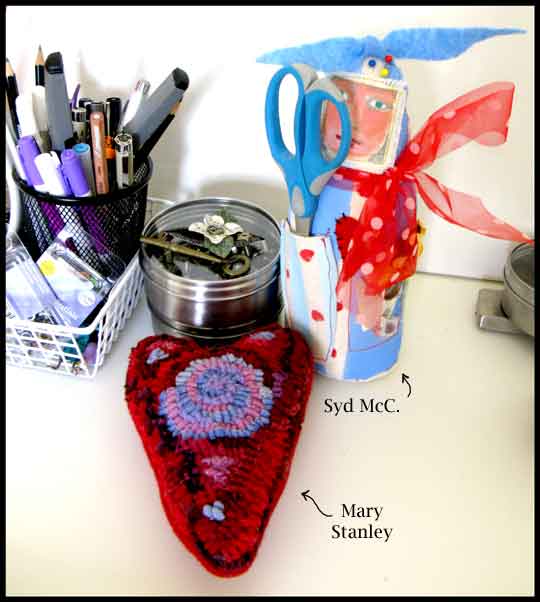
Here are some inspiring art from a few favorite artists to get the creative juices flowing!

othersart.jpg

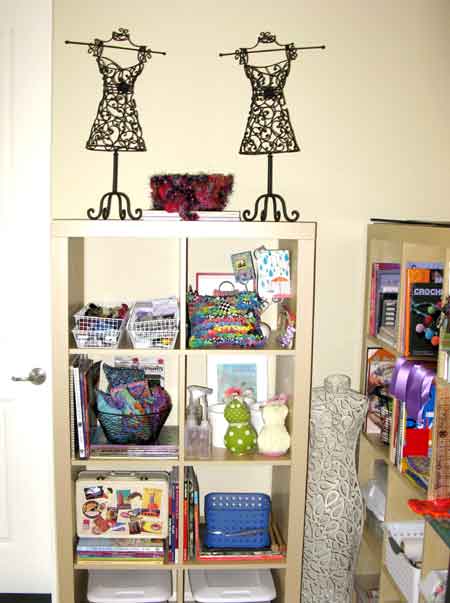
Next is some cool armatures I will be working with….

studioshelf.jpg

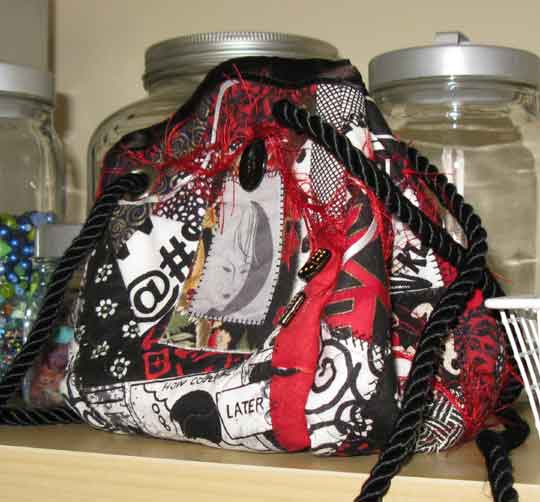
My very first collage purse- made during an adventure week with Lori:

istcollage.jpg

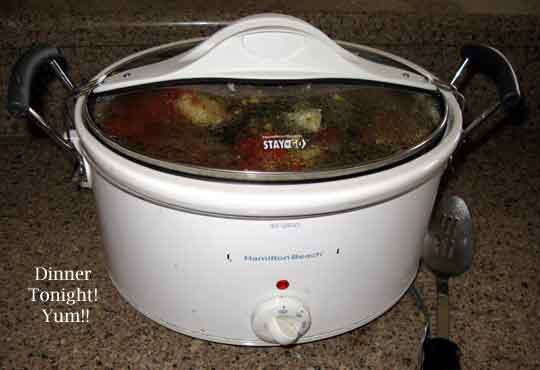
and lastly… I was organized and put on a roast to cook all day!! This is proof that yes, some days I can get my stuff together!

croc.jpg

keep watching…. Hugs, from Carla

A Few AFF Purchases

While at ArtFiberFest, I was fortunate to add to my collection of art from artists I admire. They have a vendor night where many of the teachers and attendees may sell their art. Here are just a few favorite items.

The following items were purchased from Alma Stoller. By the way, did I mention how nice and talented she was?:

alma-bird.jpg and almabeads.jpg

Next was a beautiful rug hooked heart wallhanging from Mary Stanley. Mary is a wonderful teacher and a very kind person:

heart.jpg

Another favorite artist of mine is Syd McCutcheon. I was fortunate to get one of her scissor maiden dolls:

scissormaiden.jpg

I was also lucky to purchase her AFF doll made for the gallery. Here is a sneak peek, but you can get a better view of this delightful doll on her blog post. It is a very appropriate purchase for the season.

doll.jpg

Today, I am off teaching my fabric crochet autumn purse at the local quilt shop. Remember this?

front-purse.jpg

Enjoy your day! Hugs, Carla

Stencil Tutorial

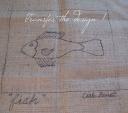
I mentioned last week that I was thinking of rug hooking one of my fish drawings.  I needed some way to transfer this to the cloth, so I decided to make my own stencil.  The added benefit is that I can also use it in my quilting, too.

For this project, you need a line art drawing of some sort, stencil plastic or mylar, an exacto knife or special stencil cutting knife with 2 blades, a permanent marker, and a cutting mat.  I just used a exacto knife since that is what I happened to have on hand.

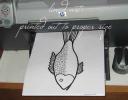
Step 1: Decide on your art, then enlarge or reduce to the size you want:

stencil1.jpg and print out:  stencil2.jpg

Step 2: Trace the drawing onto the stencil plastic (or mylar) using the permanent marker.  Use your exacto blade to carefully cut out the black lines.  (Hint: I plan my connecting lines ahead of time so the stencil will stay together)

stencil3.jpg

Last step: Use the stencil to mark where you wish.  You could use this to mark a quilt with chalk or- as in my example- I’ve marked a piece of burlap for a rug hooking project:

stencil4.jpg

Easy Project!  I suggest this tutorial for all levels of experience.  Just be careful of that sharp exacto blade or stencil knife.  As with all my previous tutorials, please share what you create if you use this.

Regards, Carla

Wool Reclaimation Project- a tutorial

Yesterday, I spent a great portion of my day building my new wool stash by reclaiming old wool discovered at local thrift stores. Here’s how you reclaim wool for re-use in penny rug quilts or to strip and reuse for rug hooking or other fiber art project:

First, you visit all your local thrift stores and look for items of clothing that are 100% wool or items that carry one of these symbols:

I’m sure you can use wool that has a high percentage of wool- say 90%. This is one of those areas where you can experiment.

Look for wool skirts- hopefully in the largest size possible with gathering at the waist. Wool slacks are next. Last are wool blazers. Usually for the value, wool blazers only give you a little bit of usable wool, I’ve found. They are a pain to deconstruct, too.

I prepare my items, by cutting off the waistlines, cutting off zippers and buttons. I open up hemlines and sleeves. Remove the lining.

Place the wool items into your washer on regular temp along with some towels to help felt them. I was told by my rughooking teacher to not use any soap product at this point- but I’ve done it both ways and it works just fine. Next you throw the washed, felted items into your dryer (on warm) with several softener sheets. Check you dryer vent every 5 minutes and clean out. Pull out items when dry and the felted wool is now ready to use.

The application for knowing this for quilters is in penny rug quilts. For rug hookers, it’s building your stash. Felting is certainly “In” right now. You can crochet or knit a bag, then felt it the same way I describe above.

If anyone tries this, please let me know. It is simple and easy.